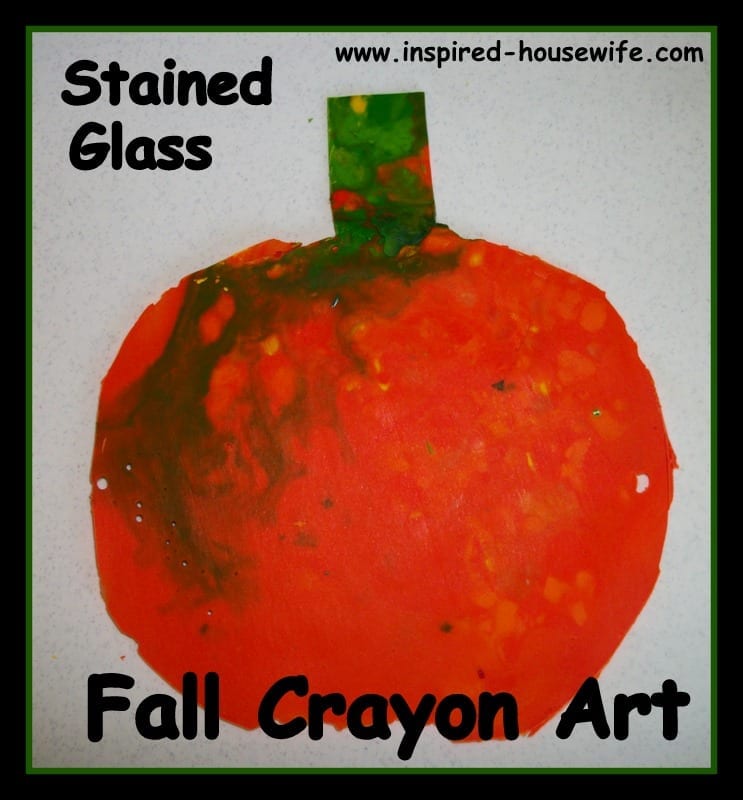
I love to create with crayons. This summer my kids and I created melted crayon canvas art. The art work turned out so beautiful I now have their pieces of art framed and hanging on my bedroom wall. Today’s post uses melted crayon again, but this time it is stained glass crayon art!
Yesterday I had an art play date at my house. I had about 8-10 kiddos all excited to melt crayons. The other moms and I let the kids make whatever they wanted with their crayons. Some kids made trees with purple flowers, others made small sheets of stained glass art, while others made space ships. My kids were so excited to have kids over to play that they did not create their works of art until after all the kids had gone.

Fall Crayon Stained Glass Art Craft
Materials Needed
- Box of crayons or your stash of broken crayons.
- Wax paper or cooking paper
- Scissors
- Tape
- Iron
- Pencil or crayon sharpener or rolling pin
- Sandwich bag
- Hard surface you cannot damage by heat or crayon
- Razor blade

- If your crayons have the paper wrapping on them use a razor blade and make a cut down one side. This peels the labels off much quicker, but be careful not to cut yourself like I did.
- Take your wax paper and using your scissors cut two 12 x 12 square pieces. Take one piece of the wax paper and tape each corner to your hard surface. The other piece of wax paper will be used to put on top when you go to melt the crayon shavings.
- Next comes the fun part the crayons! You need the crayons to be in small thin pieces for it to iron out correctly. The moms and I figured out that using a cheese grater as most people suggested took way too long. We used several pencil sharpeners instead and then I also put several crayons in a sandwich bag and on a hard surface pounded them into little pieces with my rolling pin. Both ways seem to work, but if you want your crayon stained glass super thin you will want to use a pencil sharpener.
- Take your shavings and place them on your taped wax paper in an even layer. Take the other piece of wax paper and place over the top of your crayon shavings. Take your iron which is on a medium heat setting and place over the crayon shavings. Be careful not to melt the crayon too much or it will become too thin and not work and break apart. Once you melted the crayon shavings let the crayons totally cool. If you pull the top piece of wax paper before it is cool your crayon art will stick and be ruined.
- When the crayon art is cooled slowly and carefully peel from your paper. I had my kids trace objects related to fall and then I used my razor blade to cut over their tracing.
*Note if you do this on a hard surface floor with no carpet please put down a drop cloth or something to catch your crayon shavings as they will stick to the floor and are hard to clean up. *
It was a fun art play date, the cleanup was easy and not as messy as I thought it would be.

What other crayon art have you made comment below?
XOXO
Amee
Parties:
Hands On As We Grow | Adventures In Mommy Land
