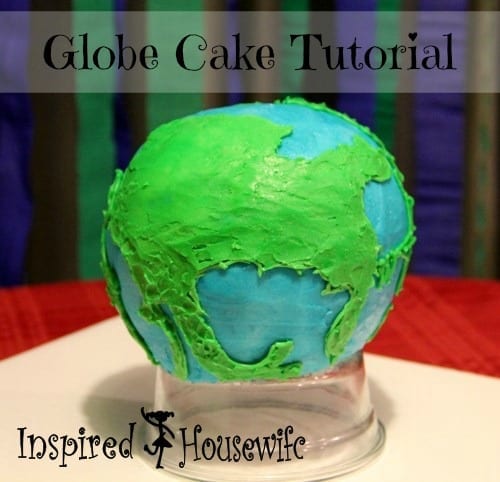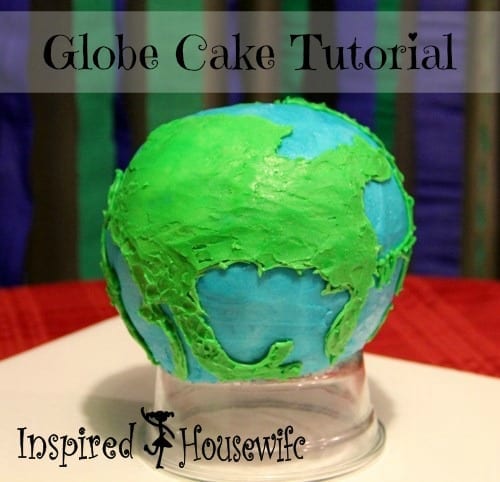
Back in December my son Tristan turned seven. I am not even sure how it is possible for him to be seven already, but he is. My son loves anything to do with geography and the past six months or more he has had a love affair with Google Earth. He will spend hours a day looking at all sorts of places and finding every tunnel he can drive through using the little moving man tool. When it came time to talk about what kind of birthday cake he wanted, Tristan did not hesitate to tell me he wanted a glob cake. Now I am no cake decorator, but I love my kids so much that I will try to make their birthday cakes as special as I can to see their smiles.
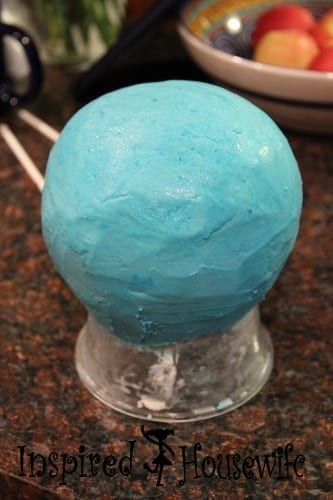
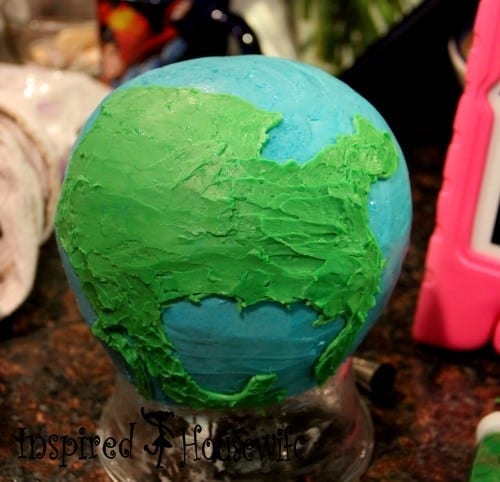
Creating a globe cake is not as hard as it may seem, but if you are a newbie cake decorator like me all you will need is a little time and a lot of love.
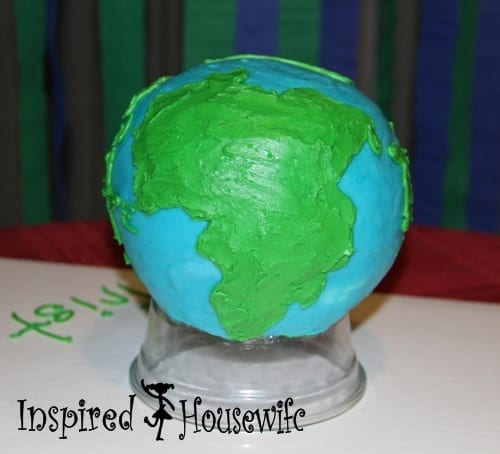
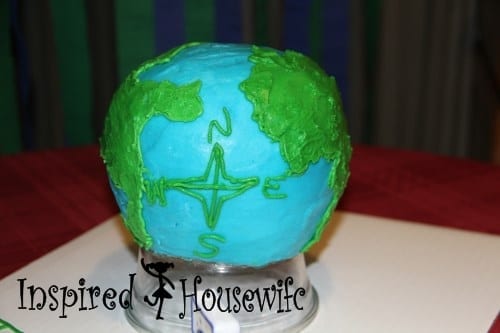
Globe Cake Tutorial
Ingredients
- 1 cake mix of your choice - I used a chocolate gluten free cake mix for my son.
- 1 glass Pyrex 1.5 L bowl your bowl must be oven safe
- Spray cooking oil to coat your bowl
- 1 cake pop stick to put through center of cake to create stability
- White butter cream icing either store bought or homemade
- Food coloring green and blue to make the colors of the water and the continents.
- Icing bag
- Wilton Cake Tip #5
- Spoon spatula
Instructions
- Heat your oven to 350 F/177 C
- Mix your cake as directed on your box.
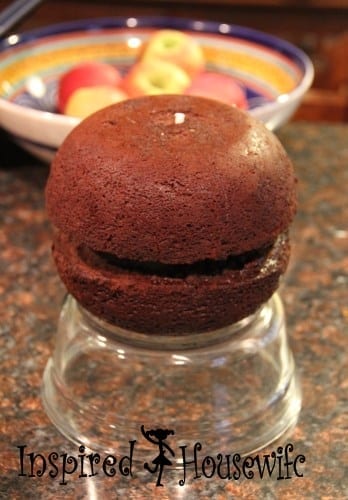
- Take half the batter and pour into the 1.5 L glass Pyrex or oven safe bowl.
- Place on the middle rack in your oven.
- This cake will take about an hour to cook, but different flours and cake mixes can cook differently so I would keep an eye on your cake and check it. You know it is finished when you put a knife in it and it comes clean.
- Let the bowl and cake cool and then do it all over again with the left over batter.
- Once both halves of the cake are made you might have to shave off a little on the flat top of each half circle to get it to lay flat on each other or do what I did add in more dirty icing on the sides.
- Then push through the cake pop stick to create stability to hold the two pieces together.
- You can add fruit in the middle or just use frosting to stick the two halves together.
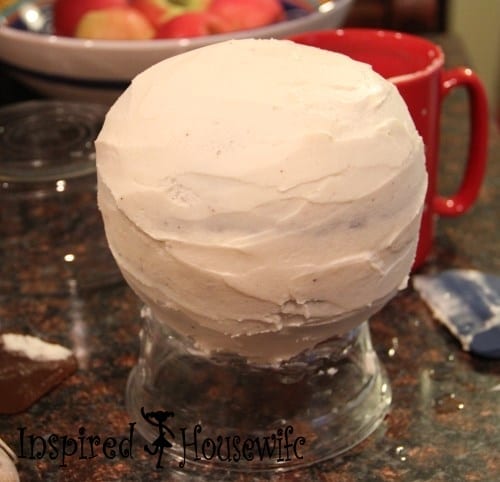
- Next take your basic white butter cream icing and dirty ice your globe cake. This is the coat that does not matter if it shows crumbs as you are just getting a good coating on it.
- Set cake in the freezer and allow to harden while you prepared the icing you will make blue.
- Take your globe cake out of the freezer and coat it all over your cake surface. It does not have to be perfect as it is the ocean and bodies of water for your cake.
- Put the cake back in the freezer to harden while you prepare the green icing for the continents of the cake. There is no right or wrong way of doing this.
- I pulled up a photo off of Google and chose my son's favorite land masses to put on his birthday cake.
- With the green icing I used an icing bag and Wilton's Cake tip #5.
- I did all of the green icing free hand and I first outlined the shape of the continents and then I filled them in with green icing. I took a spoon to smoothing out the icing to the edges of the outlines of each continents.
- When I finished I put back into the freezer to harden up the icing so it did not get soft and drip.
- I took the cake out about an hour before I served it to my son for his birthday.
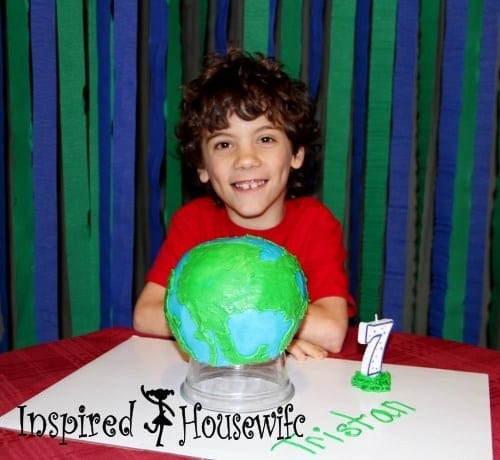
This cake was not that hard to do, but it did take me a bit of time. You could make the cake ahead of time and freeze it and then ice it the next day. All my hard work and love paid off though because when he saw his seventh birthday globe cake his smiled reached from ear to ear. He was so happy and loved his birthday globe cake I had made him.

I hope this birthday globe cake tutorial will give you an idea of what you can do for your little one’s birthday or even for an Earth Day inspired party.
{Where I linky share}

